


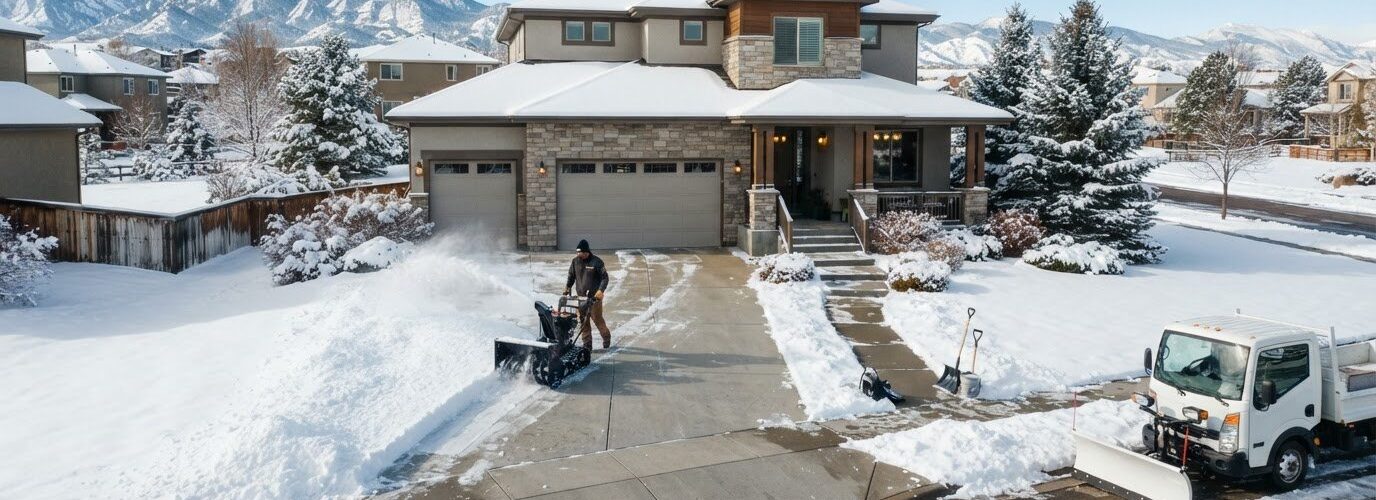

Emergency snow removal and plowing in Denver, Colorado
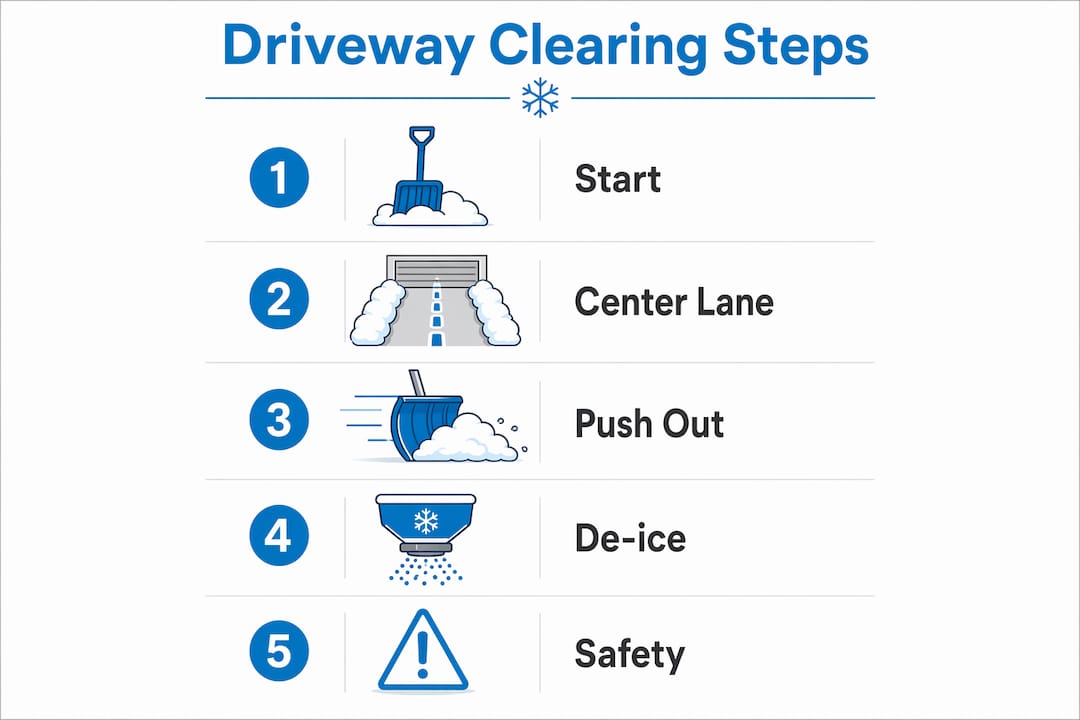
The most effective post-snowstorm driveway clearing steps follow a simple sequence: start early, open a center path first, push snow outward to the edges, then apply a de-icer to prevent refreezing. Timing matters as much as technique. Clearing every 2–4 inches during a storm prevents snow from compacting into the hard-packed ice layers that turn a 20-minute job into a two-hour ordeal.
Here is the core checklist to follow immediately after a storm:
- Start clearing once there is a moderate accumulation of snow, or as soon as the storm ends.
- Open a center path down the middle of the driveway first, then push snow outward in strips.
- Clear the driveway apron, front steps, and main walkways before anything else.
- Apply rock salt or a pet-safe ice melt after clearing. Never pour water on snow or ice.
- Pile snow far enough from the driveway that melt-and-refreeze cycles cannot push it back.
- Clean and dry your shovel before storing it.
What tools do you actually need for driveway snow removal?
The right equipment makes a measurable difference in effort and surface protection. A wide, plow-style snow shovel works best on concrete or asphalt because it lets you push long runs without constant lifting. For gravel driveways, use a poly-blade shovel with a gentler edge — metal edges bite into loose stone and scatter gravel across the yard.
Snow blowers earn their place with heavier accumulations. Single-stage models handle most residential driveways well for typical moderate snowfalls. Two-stage blowers are worth the investment if your driveway is long or you regularly deal with heavy, wet snow, common in some northern regions. Knowing which method fits your property is worth a look at snow plowing vs snow blowing before the season starts.
Beyond the shovel and blower, stock these before the first storm:
- Rock salt, pet-safe ice melt, or sand for traction and refreezing prevention.
- Tarps or plastic sheeting for pre-storm coverage of steps and walkways.
- Waterproof boots with solid traction and insulated gloves with good grip.
- A handheld ice scraper for stubborn patches that de-icer misses.
Pro Tip: Spray cooking spray or silicone lubricant on your shovel blade before you start. Snow slides off far more easily, which cuts scraping effort on heavy, wet snow.
The right equipment choice also affects how much time and money you spend over a full season.
How should you prepare before the snow even falls?
Pre-storm preparation cuts your post-storm workload significantly. Lay tarps or plastic sheeting over steps and key walkways before snowfall begins. When the storm ends, you simply pull the tarp and the surface underneath is clear.
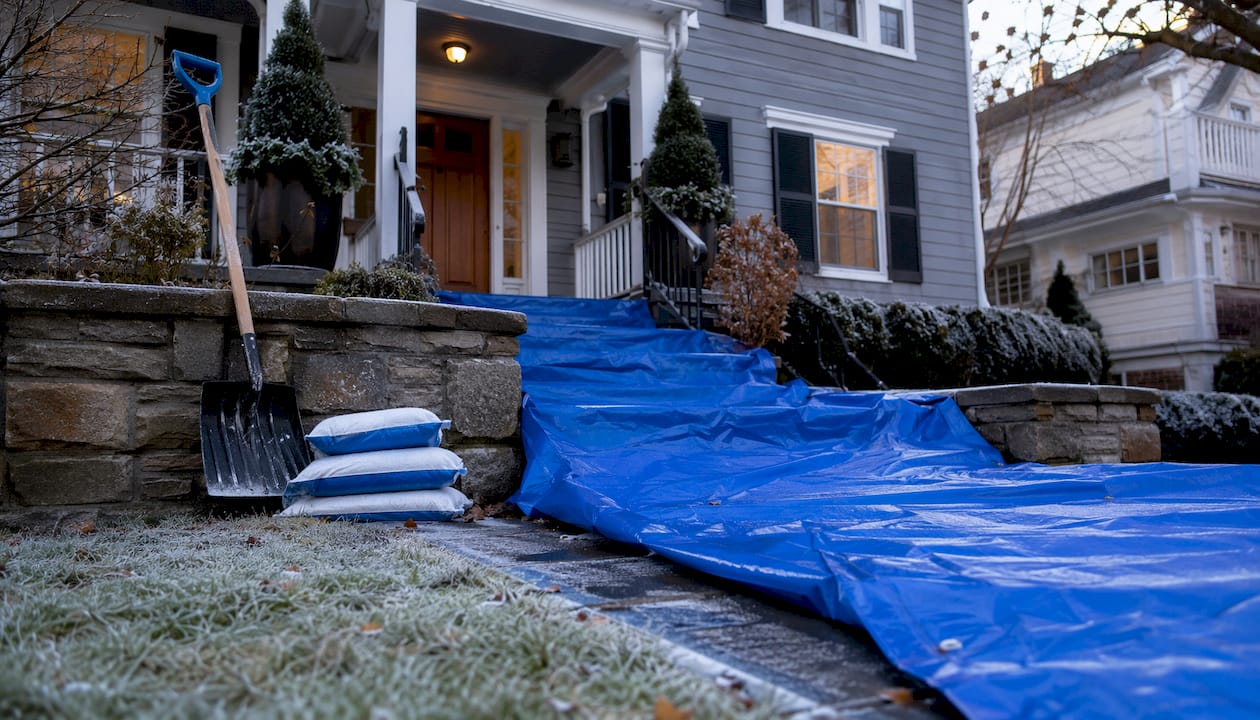
Anti-icing with brine or ice melt applied 1–24 hours before a storm prevents snow from bonding to the surface, making it far easier to clear afterward. This proactive approach outperforms post-storm application every time. Check your seasonal snow preparation steps to build a full pre-winter routine.
During a prolonged storm, do not wait for it to finish:
- Clear every couple of hours during heavy snowfall to prevent compaction and ice formation.
- Start with high-traffic areas: steps, walkways, and the driveway exit.
- Map out snow disposal zones in advance so you are not piling near drains, shrubs, or sightlines.
- Keep all tools and safety gear staged near the door for immediate access.
Step-by-step techniques for clearing snow and preventing ice
Speed matters here. Wet snow compacts fast, and once tires or foot traffic pack it down, you are dealing with a much harder problem. The goal is to move snow far enough away that melt-and-refreeze cycles cannot push it back onto cleared surfaces.
The Divide and Conquer method cuts a 100-foot driveway from nearly 60 minutes down to under 20 minutes, a 66.7% reduction in clearing time, by opening a center lane first and pushing outward from there.
Follow these steps in order:
- Check the street apron first. If a municipal plow has already passed, clear the apron before working back toward the house. If the plow has not come yet, clear the driveway first and return to the apron after.
- Cut a center lane. Start near the garage and push a straight path down the middle to the street. This creates two narrower working strips instead of one full-width slab.
- Clear one half at a time. Return to the top and push snow from the center lane outward to the edge in smooth passes. Finish one side completely, then repeat on the other.
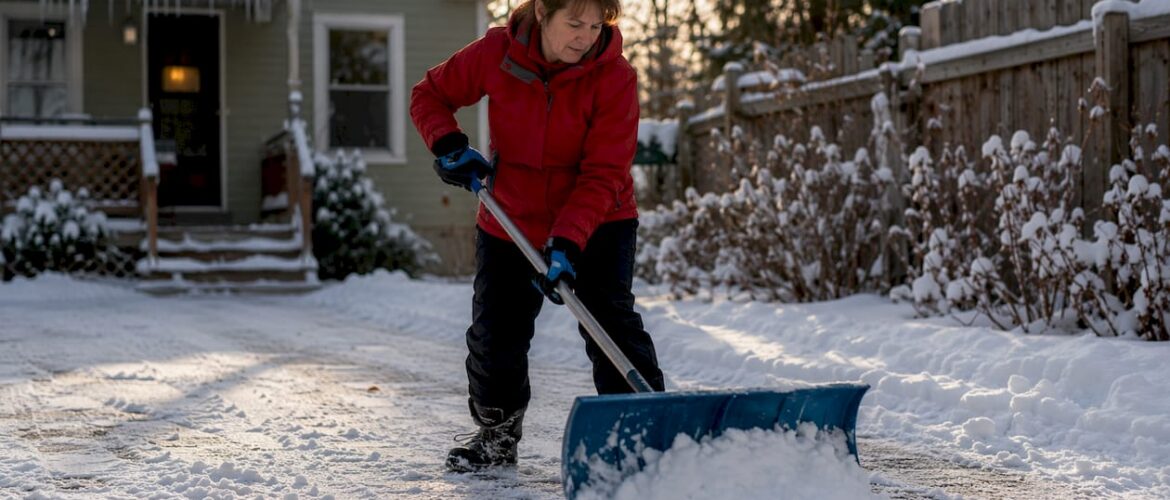
- Push, do not lift. Pushing is safer on your back and faster on paved surfaces. Lift only when necessary, bending your knees and driving with your legs.
- Even out the piles. Keep snow piles away from shrubs, drainage points, and low tree trunks. Tall banks near the driveway edge leave no room for the next storm.
- Apply de-icer evenly. Once the surface is clear, spread rock salt or ice melt across the driveway and steps. A tablespoon per square meter is enough on most surfaces.
- Never use water. Pouring water on ice causes it to refreeze into black ice, which is invisible and far more dangerous than the original snow.
- Use sand on slick spots. If salt supply runs low, sand or ash provides grip underfoot until you can apply a proper de-icer.
- Recheck shaded areas. North-facing or tree-shaded sections refreeze more often than open areas. Walk the driveway again after midday melt.
- Clean your tools. Rinse and dry your shovel blade before storing it. A clean blade resists rust and slides more easily next time.
For gravel driveways, tilt a poly-blade shovel 10–15 degrees upward to skim the surface. This light-pass approach removes the bulk of snow without flinging stone into the yard. After clearing, proper driveway surface care helps preserve the surface through repeated freeze-thaw cycles.
What safety precautions should you follow while shoveling?
Shoveling is a high-intensity cardiovascular workout, and treating it casually is where injuries happen. Warm up and stretch before you start, just as you would before any physical activity. Cold muscles tear more easily, and the combination of cold air and sudden exertion puts real strain on the heart.
- Dress in moisture-wicking base layers, an insulating mid-layer, and a waterproof outer shell.
- Wear waterproof boots with aggressive tread. Slipping while carrying a loaded shovel is a common cause of back and wrist injuries.
- Shovel in intervals during heavy storms rather than waiting for a full accumulation. Short sessions every hour or two are far easier on the body than one exhausting push at the end.
- Prioritize pushing over lifting to reduce back strain. When lifting is unavoidable, bend your knees and let your legs carry the load.
- Pay extra attention to steps and steep pathways. Apply ice melt promptly on uneven surfaces where a slip is most likely.
- Take breaks in a warm area. Staying hydrated in cold weather is easy to overlook, but fatigue and dehydration both increase injury risk.
If you own a home in Denver and the job feels like too much, Denversnowremovals has operated in the Denver Metro area for over 44 years with a 24/7 crew ready to handle clearing before conditions become dangerous.
Key Takeaways
Clearing snow right after a storm, using the Divide and Conquer method and proper de-icing, keeps driveways safe and cuts total clearing time by as much as 66.7%.
| Point | Details |
|---|---|
| Start clearing once there is a 2–4 inch accumulation to prevent compaction and ice formation. | |
| Use the center-first method |
Open a center lane, then push outward to cut clearing time by 66.7% on a 100-foot driveway. |
| Never apply water | Water refreezes into black ice; use rock salt, ice melt, or sand instead. |
| Pre-treat before storms | Anti-icing applied 1–24 hours ahead prevents snow from bonding to the surface. |
| Recheck shaded spots | North-facing and tree-shaded areas refreeze after midday melt and need a second pass. |
FAQ
What is the most efficient way to clear a driveway after a snowstorm?
The Divide and Conquer method is the fastest approach: cut a center lane first, then push snow outward to each edge in strips. This reduced clearing time on a 100-foot driveway from nearly 60 minutes to under 20 minutes.
How much does professional driveway snow clearing cost?
Pricing varies by driveway size, snow depth, and service frequency. Denversnowremovals offers free estimates and flexible service plans; contact them directly for a quote specific to your property.
At what age should someone stop shoveling snow themselves?
There is no universal age cutoff, but anyone with a history of heart disease, high blood pressure, or limited mobility should avoid heavy shoveling. The physical demand is comparable to vigorous exercise, so consult a doctor if you have cardiovascular concerns.
Can you use Dawn dish soap to clear an icy driveway?
A mixture of dish soap, water, and rubbing alcohol is sometimes suggested online, but applying any water-based solution to ice risks refreezing into black ice. Rock salt, pet-safe ice melt, or sand are safer and more reliable options for after-snowstorm driveway maintenance.
Recommended
- How to Set Snow Clearing Expectations for Residents – Snow Removal Denver 303-591-2089
- How Shared Driveways Get Cleared Safely in Winter – Snow Removal Denver 303-591-2089
- How to Protect Landscaping During Snow Plowing – Snow Removal Denver 303-591-2089
- Document Snow Removal for Liability Protection – Snow Removal Denver 303-591-2089