
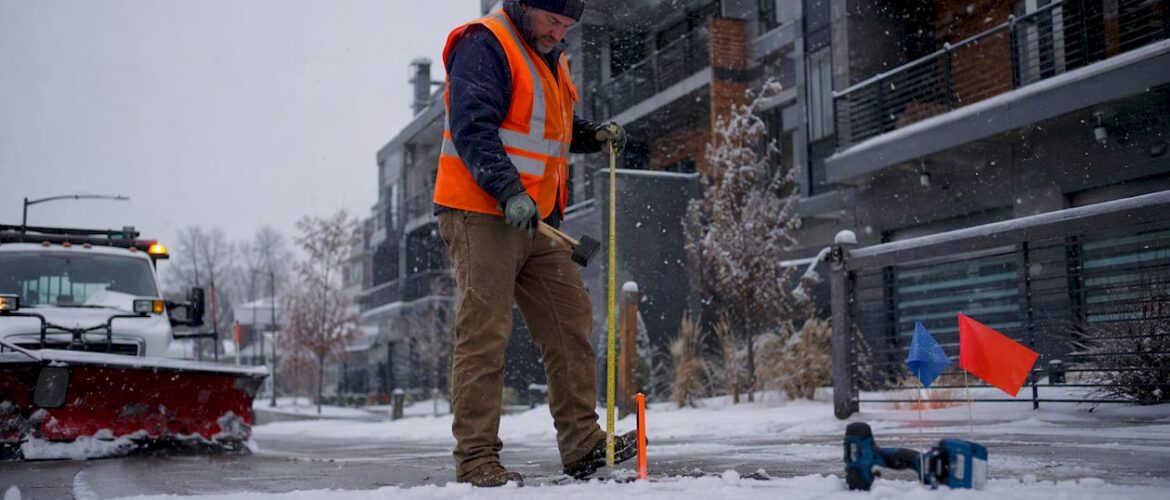
To mark a driveway for plowing correctly, place flexible fiberglass stakes a few inches off the pavement edge, spaced several feet apart on straight runs and closer at curves and hazards, and install them before the ground freezes in October. That single setup decision determines whether your plow operator clears the driveway cleanly or clips a landscaping bed at 2 AM during a Denver blizzard.
Here is the short version you can hand directly to a contractor:
- Material: Use pultruded fiberglass stakes with reflective collars, suitably tall and sturdy for residential or commercial use.
- Spacing and offset: Set stakes a few inches outside the pavement edge, spaced several feet apart on straight sections, and closer at curves, entrances, and hazard zones.
- Timing: Install before the first hard freeze, ideally by mid-October, while the ground is still workable by hand.
Table of Contents
- How to mark a driveway for plowing: choosing the right materials
- Where exactly should you place driveway snow markers?
- When and how to install driveway markers step by step
- How to mark hidden hazards and protect utilities
- What to tell your snow removal contractor before the season starts
- How to maintain and remove markers at the end of the season
- Should you install stakes yourself or hire a professional?
- Key Takeaways
- Why markers matter more than most property managers realize
- Denversnowremovals: professional marking and snow removal for Denver properties
- Useful sources
- FAQ
How to mark a driveway for plowing: choosing the right materials
Not all stakes perform the same after a plow blade passes two feet away at speed. Pultruded fiberglass (FRP) stakes outperform wood, standard plastic, and metal on every practical measure: they flex on impact and spring back upright, resist UV degradation, hold their color through multiple winters, and do not corrode or splinter. Wood laths crack in hard freezes and lose visibility quickly. Cheap HDPE plastic snaps under repeated plow-wash pressure. Metal stakes are rigid and can damage plow equipment on contact.
For most Denver driveways, a stake tall enough to remain visible through typical snowfall is sufficient. Properties in areas with heavier snow should use taller stakes for visibility. A moderate diameter provides adequate rigidity for residential and commercial use.
Pro Tip: Choose stakes with integrated reflective collars or high-quality reflective sheeting rather than spray-painted reflective coatings. Integrated solutions retain luminance across multiple seasons; painted-on reflectivity fades after the first winter and leaves you with a stake that is invisible at night.
Where exactly should you place driveway snow markers?
Placement precision is what separates a marking job that protects your property from one that just looks like you tried. Setting stakes directly on the pavement edge causes breakage; the plow blade’s overhang will strike them on nearly every pass. The correct offset is 2–6 inches outside the edge. On gravel shoulders or soft turf edges, push that offset to the higher end of the range.
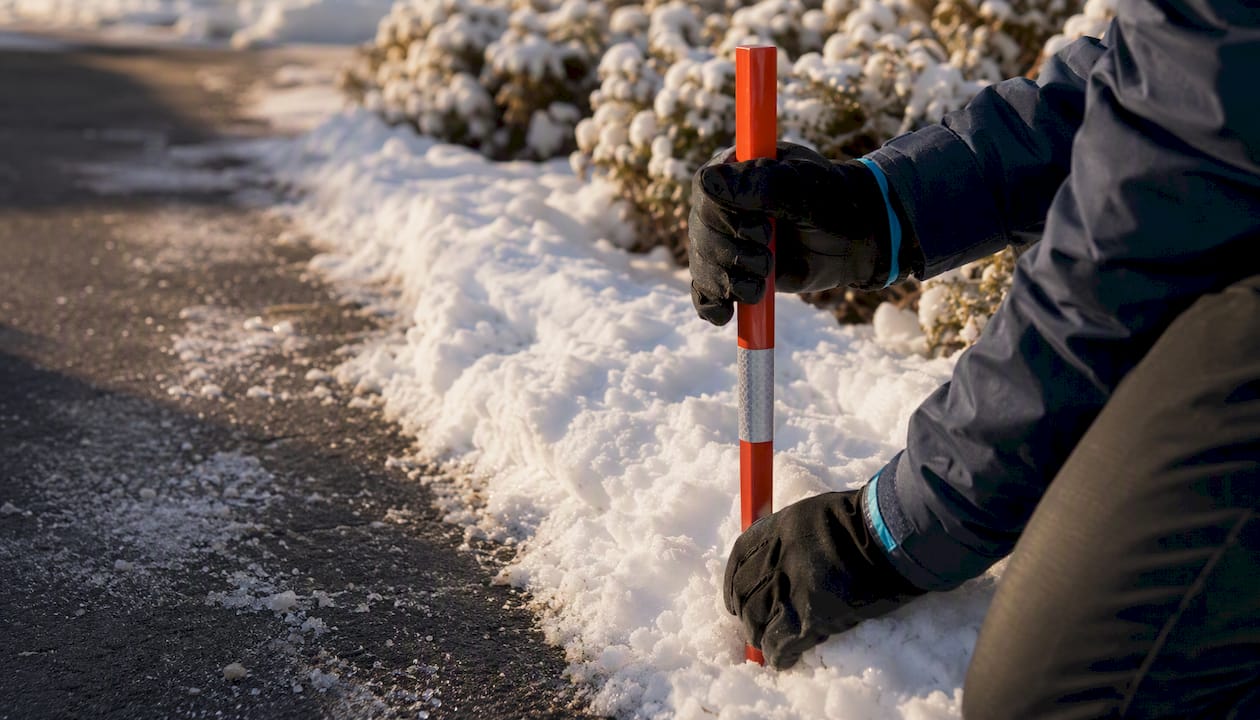
After a significant snowfall, at least 12–18 inches of stake should remain visible above the snow surface. That is the practical reason to choose taller stakes in Denver, where a single storm can drop 12 inches overnight.
| Driveway type | Recommended spacing | Lateral offset |
|---|---|---|
| Straight residential run | 8–12 ft | 2–6 in. |
| Curve or bend | 5–8 ft | 2–6 in. |
| Commercial entrance | 5–8 ft | 2–6 in. |
| Hazard zone (hydrant, island) | 3–5 ft | 2–6 in. |
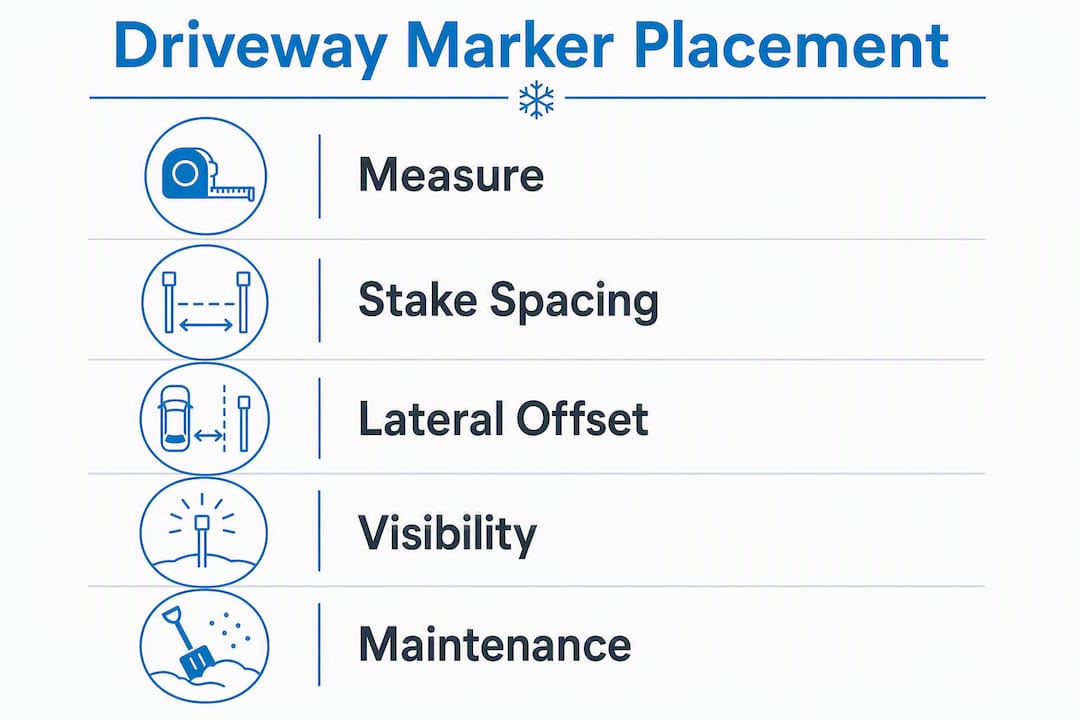
Long rural driveways and large commercial lots follow slightly different logic: wider spacing works on open straight sections, but any point where the operator loses a clear sight line to the edge needs tighter intervals. When in doubt, add a stake.
When and how to install driveway markers step by step
The window matters as much as the method. Once the ground freezes solid, manual installation becomes difficult and often requires a cordless drill with a masonry bit to pre-bore holes, adding labor time and cost. Install in October, before the first hard freeze, and the job takes one person and basic tools.
- Walk the site. Map the full driveway perimeter, note all hazards (hydrants, meters, curb islands), and photograph the baseline condition before any stakes go in.
- Mark your spacing. Use a tape measure and small flags to pre-mark stake positions along the edge before driving anything.
- Drive stakes 2–4 inches into the soil. A rubber mallet works on soft ground; a staking tool speeds the process on firmer fall ground. Keep each stake vertical.
- Confirm reflective collar orientation. Face the reflective surface toward the lane the plow operator will travel.
- Photograph the completed layout. Send timestamped photos to your contractor before the season starts.
Tool checklist: rubber mallet or staking tool, tape measure, marking flags, cordless drill with a ⅜-inch bit (frozen-ground backup), and work gloves. Before pre-boring any hole deeper than a few inches, call 811 to confirm buried utility locations.
How to mark hidden hazards and protect utilities
Perimeter marking is only half the job. Hidden hazards cause the most expensive plow damage, and they are almost always unmarked. Contractors working in low-visibility conditions at 3 AM cannot see a gas meter cover or a granite boulder under 14 inches of snow.
Mark these features before every season:
- Fire hydrants: Two stakes flanking the hydrant, 18–24 inches out on each side, taller than standard perimeter stakes.
- Gas meters and utility covers: A pair of stakes set 12 inches out from each side, with a brightly colored flag at the top.
- Mailboxes and posts: Single stake on the approach side, offset 6 inches from the post base.
- Rock beds, boulders, and landscaping islands: Stakes at each corner of the feature, spaced no more than 3–5 feet apart along the perimeter.
- Irrigation heads: A single flag stake directly over each head, flush with the turf surface.
For snow pile zones, mark the boundary of where you want snow stacked. This prevents operators from pushing snow onto drainage areas, utility access points, or landscaping beds that need protection.
Marking hidden hazards is as critical as marking the driveway edge itself. Contractors report that fire hydrants, gas meters, and buried landscaping features account for the majority of serious property damage claims during heavy-snow events. A $2 stake placed correctly in October can prevent a $2,000 repair in February.
Call 811 before installing stakes that require boring into the ground to locate buried utilities. This free service typically takes a few business days to respond.
What to tell your snow removal contractor before the season starts
A clear handoff prevents disputes and speeds up every service call. Before signing a seasonal contract, give your contractor a short site package:
- A simple sketch or photo map showing stake locations, hazard markers, and designated snow pile zones.
- Timestamped photos of the completed stake layout (also useful for liability documentation).
- Stake material, height, and reflective collar type so the crew knows what to expect.
- Your priority list: driveway clear first, then curb access, then sidewalks.
- Preferred plow path and any areas where blade overhang is a concern.
Ask these questions before signing: Who covers the cost of damaged stakes? What is the guaranteed response time during a heavy storm? Does the contractor prefer a specific marker type or placement style? Is site mapping included in the seasonal contract or billed separately?
Denversnowremovals has served Denver Metro properties for over 44 years and operates 24/7 with equipment suited to both residential and commercial sites. When you work with an experienced local crew, the contractor handoff is straightforward because the team already knows what a well-marked site looks like and can flag gaps before the first storm.
How to maintain and remove markers at the end of the season
Mid-winter, after any storm that drops more than 8 inches, do a quick walk of the perimeter. Look for leaned or missing stakes, and check that reflective collars have not peeled or shifted. Replace any stake that has moved more than 2 inches from its original position.
Pull stakes in spring once the last significant melt has softened the ground, typically late March or April in Denver. Lift each stake straight up rather than rocking it sideways, which can crack the tip. Wipe stakes clean before storage, and store them flat or vertically in a dry space away from direct sunlight to prevent collar adhesive from degrading.
Pro Tip: Label stakes by property zone before storing them. A simple color-coded rubber band or a permanent marker line near the top saves significant time when you are setting up multiple properties the following October.
Should you install stakes yourself or hire a professional?
For a single residential driveway with soft fall ground, DIY installation is straightforward and takes under an hour. For larger properties, frozen ground, or situations where liability is a concern, professional setup is the more practical choice.
| Factor | DIY | Contractor setup only | Full-service provider |
|---|---|---|---|
| Cost | Lowest upfront | Moderate | Included in seasonal contract |
| Time | 1–3 hours per property | Minimal owner time | None |
| Durability | Professional grade if fiberglass is used | Professional grade | Professional grade |
| Liability | Owner bears risk | Shared | Provider manages |
| Scale | Single property | Multi-property capable | Multi-property, commercial |
If you manage an HOA, a commercial parking lot, or several residential properties, the time and liability math shifts quickly toward hiring. Different property types carry different staking demands, and a professional crew can map, stake, and document a large site in a fraction of the time a property manager can. Denversnowremovals offers site setup as part of its seasonal service, covering marking, documentation, and contractor-ready site prep.
Key Takeaways
Properly marked driveways require fiberglass stakes set 2–6 inches off the pavement edge, spaced 8–12 feet on straight runs and 5–8 feet at curves and hazards, installed before the October ground freeze.
| Point | Details |
|---|---|
| Material choice | Pultruded fiberglass stakes with reflective collars outlast wood and plastic across multiple winters. |
| Spacing and offset | Use 8–12 ft on straight runs, 5–8 ft at curves and hazards, with a 2–6 in. offset from the pavement edge. |
| Install timing | Set stakes before the first hard freeze in October; frozen ground requires power tools and adds labor cost. |
| Hazard marking | Mark fire hydrants, gas meters, rocks, and irrigation heads separately with taller or paired stakes. |
| Denversnowremovals | Offers site setup, seasonal contracts, and 24/7 service for Denver Metro residential and commercial properties. |
Why markers matter more than most property managers realize
Most plow damage happens in the first 60 seconds of a service call, when the operator is orienting to the site in the dark. A well-marked driveway is not just a courtesy to the crew; it is the single fastest way to reduce damage claims, speed up clearing time, and protect the landscaping investment you spent years building.
The conventional wisdom says markers are optional for experienced contractors. That misses the point. Even a crew that has plowed your driveway for three seasons cannot see a granite boulder under 16 inches of snow at 4 AM. Markers are not a substitute for contractor skill; they are the information layer that makes skill possible under real conditions.
Denver winters are not predictable. A storm that drops 18 inches overnight changes every assumption about site visibility. Properties that are marked correctly before the season starts get cleared faster, with fewer callbacks, and with far fewer damage disputes. That is the practical return on a $30 investment in fiberglass stakes.
Denversnowremovals: professional marking and snow removal for Denver properties
Denversnowremovals brings over 44 years of Denver Metro experience to every property it services, which means the crew arrives knowing what a contractor-ready site looks like and what it costs when one is not. For property managers who do not have time to walk every site in October, Denversnowremovals handles site setup as part of its seasonal contracts: mapping, staking, hazard marking, and photo documentation included. The team is available 24/7 and responds to emergency same-day service calls when a storm hits before you are ready.
Free estimates are available for residential, commercial, HOA, and industrial properties across the Denver Metro area. If you want a seasonal plan that covers setup, clearing, and liability documentation from day one, request a free estimate and get a site-specific plan before the first snow falls.
Useful sources
| Source | What it covers |
|---|---|
| Discount Snow Stakes: Complete Driveway Marker Guide | Marker selection, placement best practices, and material comparisons |
| Unicomposite: Snow Stakes vs. Traditional Markers | Fiberglass vs. traditional marker performance and visibility data |
| Unicomposite: Heavy Duty Snow Stakes vs. Markers | Durability testing, installation notes, and manufacturer specs |
| Discount Snow Stakes: Placement Spacing Guide | Lateral offset guidance and spacing recommendations by property type |
| Plow Right: How to Install Driveway Markers | Step-by-step installation method, tool list, and embedment depth |
| Kage Innovation: Where to Install Plow Stakes | Stake count guidance and placement strategies for residential and commercial properties |
FAQ
What is the correct spacing for driveway markers?
Space markers 8–12 feet apart on straight sections and 5–8 feet apart at curves, entrances, and hazard zones. Tighter spacing at bends keeps the plow operator on track when visibility drops.
How far off the pavement edge should stakes be placed?
Set stakes 2–6 inches outside the pavement edge. Placing them flush with the edge causes breakage from plow blade overhang; the small offset keeps stakes visible while protecting them from direct strikes.
When is the best time to install driveway snow markers?
Install before the ground freezes, ideally by mid-October in Denver. Soft fall ground allows manual installation with a mallet; frozen ground requires pre-boring with a drill, which adds time and cost.
Do I need to mark hazards separately from the driveway edge?
Yes. Fire hydrants, gas meters, boulders, and irrigation heads need their own markers, typically taller or paired stakes set 12–24 inches out from the feature. These hidden hazards cause the majority of serious plow damage claims.
Can Denversnowremovals handle site marking as part of a seasonal contract?
Denversnowremovals includes site setup, staking, and photo documentation as part of its seasonal service for Denver Metro properties. Contact the team for a free estimate before the season starts.
Recommended
- Types of Properties Needing Snow Services: A Manager’s Guide – Snow Removal Denver 303-591-2089
- Lot Striping After Snow Removal: A Denver Manager’s Guide – Snow Removal Denver 303-591-2089
- Curb-to-Curb Snow Clearing: What Homeowners Must Know – Snow Removal Denver 303-591-2089
- How Shared Driveways Get Cleared Safely in Winter – Snow Removal Denver 303-591-2089